General Tips
1. You may find it convenient to include school year in the group names.
2. Create all the necessary groups before using User Batch Edit Session.
3. It is recommended to re-assign groups using User Batch Edit Session, rather than renaming groups. After all the users have been assigned to the new groups, you may clean up the old groups.
Step-by-step
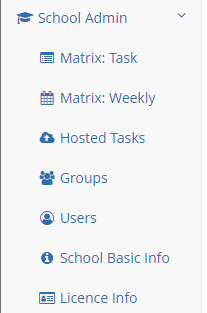
Step 1: Enter Group Management page from the side navigation.
Step 2: To create a group, enter the group’s name then click “Create Group”.

Step 3: To rename a group, select the group from the dropdown menu, enter the group’s new name, then click “Save”.

Step 4: To delete a group, select the group from the dropdown menu, then click “Delete Group”.
